Artist Resource
I am always interested to see what images other people make.
Monday, August 6, 2012
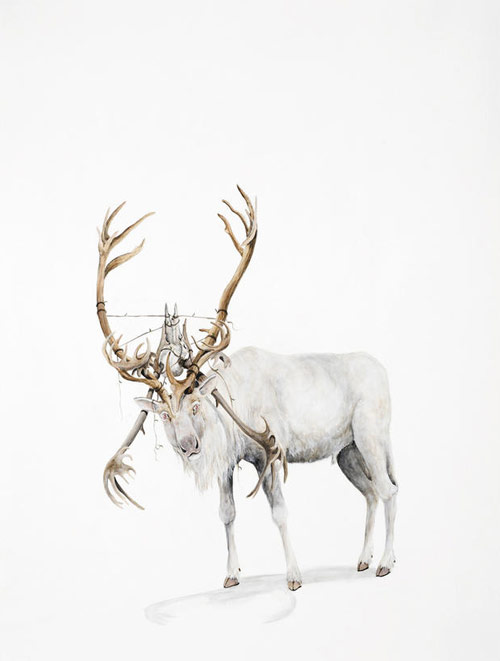
Ryan Mclennan
Ryan McLennan
Jen Ray
Jen Ray
Tuesday, February 28, 2012
Dana Oldfather
Dana Oldfather
Tuesday, August 30, 2011
Jason Shawn Alexander
Jason Shawn Alexander
Thursday, March 10, 2011
Ansen Seale
Ansen Seale
Ansen Seale
Jane Ryder
Jane Ryder
Jane Ryder
Heather Wilcoxon
Heather Wilcoxon
Heather Wilcoxon
Older Posts
Home
Subscribe to:
Posts (Atom)


